| Does your pre-facelift
(1998-2001) A6 (2.8, 2.7T, 4.2) suffer from tailpipe neglect? Well, suffer no
more as LLTek has the perfect fix for early A6 (C5) cars that have tailpipes
directed to the road instead of through the rear bumper like their upgraded
facelift cousins. Now you can have the same look. It's easy, it's fast, it's
not expensive and the results are cool.
Here is how it works and here is what you
get.
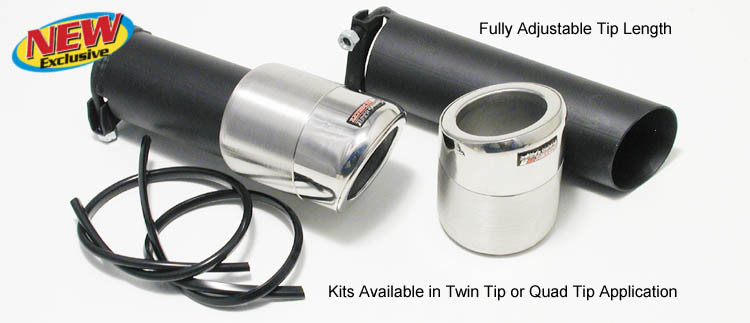
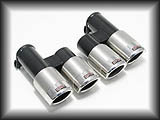
Kits for 2.8 and 2.7T are identical. 4.2 kits use different components but the
end look is the same. These twin kits are pure bolt-on, once the old downward
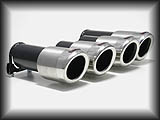
facing tailpipe has been trimmed down. If, however you elect a quad version of
the tailpipe upgrade, LLTek recommends the primary support pipe be welded to
the muffler stub due to the extra weight of the inboard extra tips.
|
| 
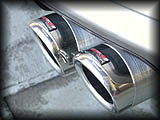
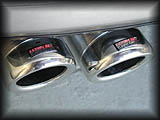
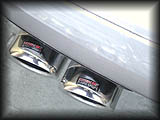
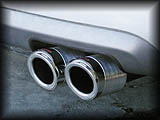
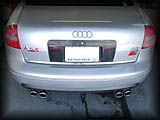
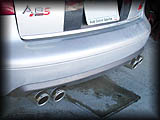
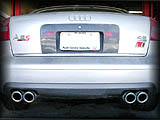
Before and After Photographs - Dual Tip Modification shown on A6
4.2
- A6 2.8 2.7T Dual
conversion kit $66
- A6 4.2 Dual conversion
kit $66
- Tips for 2.8, 2.7T (Dual)
(2 x $66=$132) $66 each
- Tips for 4.2 conversion
kit (Dual) (2 x $77=$154) $77 each
- A6 2.8, 2.7T Quad
conversion kit $132
- A6 4.2 Quad conversion
kit $154
- Tips for 2.8, 2.7T Quad
(4 x $66=$264) $66 each
- Tips for 4.2 Quad (4 x
$77=$308) $77 each
- Solid 3D Bezels with peak
for 2.8, 2.7T (1998 - 1999) $88 per kit
- All Kits include rubber
bezel finishing trim.
|
|
|  Easy How-To
Installation: Easy How-To
Installation:
1. Cut off the existing pipe tips on your car where the pipe starts to
turn downtowards the road, leaving as much straight pipe as possible to become
the kit mounting stub. Your exit stub when cut should be about ¾ of an
inch. You need this straight length to mount and attach the new bolt-on
extension and tips.
2. Attach the LLTek supplied extension pipe and visually line it up
with the new bumper exit point as if this were the actual tailpipe. Using a
drill, bore a small ½ inch hole in the rear bumper in the center of the
pipe or as close to the center as you can estimate. This hole is your visual
alignment hole.
3. Looking through the hole, recheck and realign the exit pipe if
necessary.
4. Make the alignment hole larger and larger, but always reference the
extension pipe to ensure it's positioned correctly. You will need a dremel or
similar device to enlarge the opening.
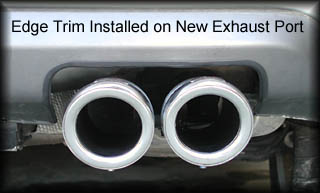 5. Once the opening is large enough, install the special new
tips on the extension pipe on a trial basis and adjust the protrusion length of
the tip to your taste. Ensure there is bumper clearance of about ¾ to 1
inch around the tip in relation to the bumper edge. Remove the tip. 5. Once the opening is large enough, install the special new
tips on the extension pipe on a trial basis and adjust the protrusion length of
the tip to your taste. Ensure there is bumper clearance of about ¾ to 1
inch around the tip in relation to the bumper edge. Remove the tip.
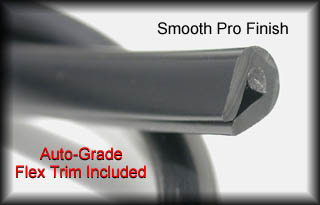
6. Install the supplied smooth edge trim material to give the rough
edges a smooth, professional look. Reinstall the tip and adjust.
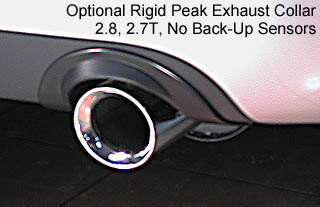 7. Tell
your amazed friends that LLTek has produced another miracle. Note: For A6 2.8
and 2.7T model years 1998 - , you can also order the "rigid peak exhaust
collars" that give the car the S6 4.2 look. They are available painted
dark charcoal grey or light silver. Installation is glue with 2 small set
screws under the bumper. 7. Tell
your amazed friends that LLTek has produced another miracle. Note: For A6 2.8
and 2.7T model years 1998 - , you can also order the "rigid peak exhaust
collars" that give the car the S6 4.2 look. They are available painted
dark charcoal grey or light silver. Installation is glue with 2 small set
screws under the bumper.
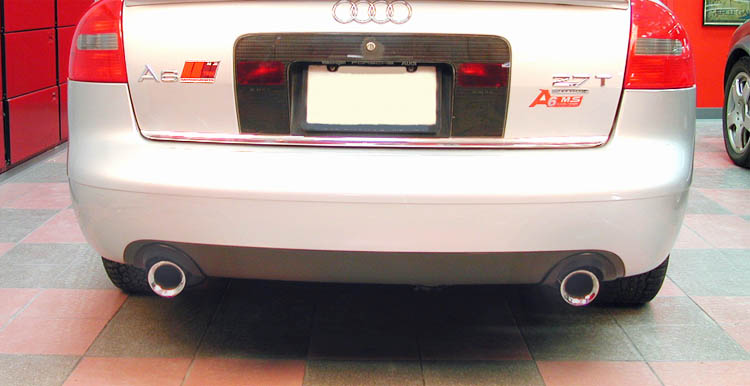
Shown: A6 2.7T with optional Exhaust collar surrounds - also for 2.8.
No fitment of collars for 4.2
|

![]()
![]()
![]()